![]()

|
|
|
|
|
|
|
|
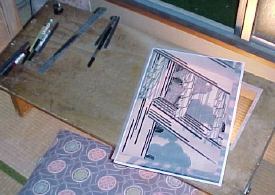
I then took each of the sheets to my light table, and with a series of pens and 'fude' brushes, carefully traced each line of the design onto a thin type of Japanese paper known as 'gampi'. At this point, the coloured parts of the print were ignored, it is just the lines of the key block that I traced. I made every attempt to reproduce the 'character' of the original brush strokes.
For a left-handed person to reproduce calligraphy originally drawn by a right-hander is difficult. You can see here where I had to cut and insert an additional piece of tracing paper, for a second attempt ... When I had finished tracing everything to my satisfaction, I took the patchwork of traced sheets back to the copy machine, and reduced them 50% (halfway back to the original size). I then reassembled the picture and made the final 50% reduction directly onto delicate 'minogami' paper. This will become the 'hanshita', the sheet that will be pasted onto the wood.
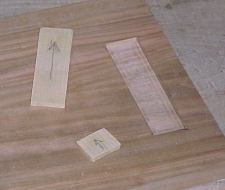
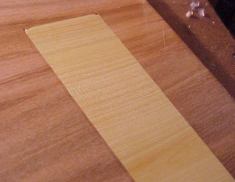
The woodblock that I will use for this print is yamazakura (Japanese mountain cherry), but even though this is a very hard and dense wood, it is not quite dense enough for the fine carving that will be necessary for the poem on this print. So at that particular place on the wood surface I have inlaid some tsuge (boxwood). I chiseled out a hole, and prepared a couple of pieces of wood to fit (Boxwood trees are very small, and I couldn't obtain a single piece wide enough to fit, so I made the inlay from two smaller pieces.)
After everything was ready, I glued the inlay in place, clamping it down so that it wouldn't warp upwards with the moisture from the glue. When it was dry, I planed it down flush with the surface of the main block.
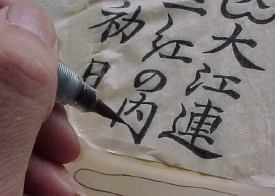
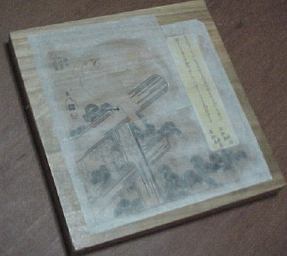
I then spread glue over the wood surface, and lay the hanshita face down in place. You can see where the poem lines up with the inlaid piece of boxwood ... The 'patchy' appearance is due to the fact that while the paper was still moist from the glue, I gently rubbed it with a fingertip and peeled away the paper in those places:
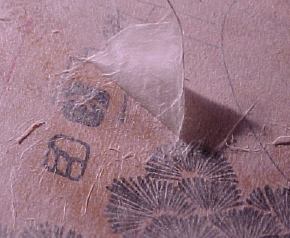
It seems quite impossible when one first tries it, but it is actually possible to remove almost the entire body of the paper, leaving nothing but the lines themselves in place on the wood surface. Rub a tiny bit too hard, or a tiny bit too long, and you lose everything ...
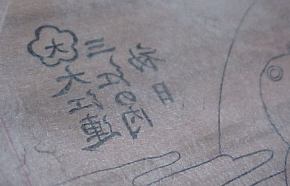
... but rub 'just right', and the design is clear and sharp, ready for carving. If some 'white' paper patches remain here and there, they can be rendered transparent with a miniscule application of camellia oil on a cotton swab. |
|
How the Prints are Made | Completed Albums | Subscriptions |
|
|
|
|
|
|
|
|