Sharpening Process
The Basic Sharpening Procedure
Just exactly why sharpening should be such a struggle for many printmakers is difficult to understand, as the process itself really is extremely straightforward: you rub steel against stone until the steel is the shape you want. What could be simpler? :-)
But that's not the answer you presumably came here to read, so let's take it step by step through the process of putting an edge on a couple of tools: first, the standard Japanese hangi-toh, the basic cutting knife, and then an ai-suki, the tool known in English as a 'bull-nose' chisel. (The stones being used were described on this page).
These photos were taken some years back by one of my daughters on a visit, and going by the print photo that is hanging over the carving bench, it must have been in the late summer of 1998, when I was approaching the end of the long Hyakunin Isshu poetry series. My hair is a lot whiter these days, but nothing much has changed with the sharpening procedure. And I see that although the naka-to (medium stone) shown in these shots has long ago worn out and been replaced, I am still using the same shiage-to!
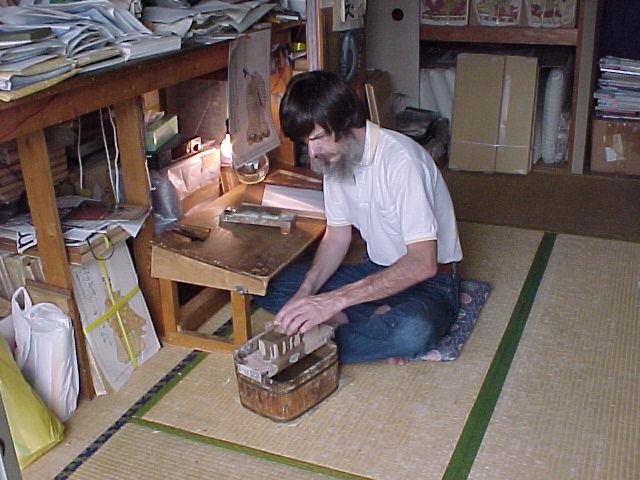
Here's the setup - the sharpening 'kit' lives permanently by the side of my carving bench; at any point during the work, as soon as I feel a tool is not performing well, I turn to the side, sharpen it as necessary, and instantly return to carving. It's a rare sharpening session that lasts more than around two minutes, and that only happens if I have broken the tip of the knife. In that case, I have to dig around in the bucket to bring out the ara-to (rough stone), but even then, it usually takes around a minute or so to rip away enough steel to put the correct shape back on the knife. So although I might spend as much as thirty minutes in a long carving day for sharpening, this would be spread over a dozen very quick and short sessions.
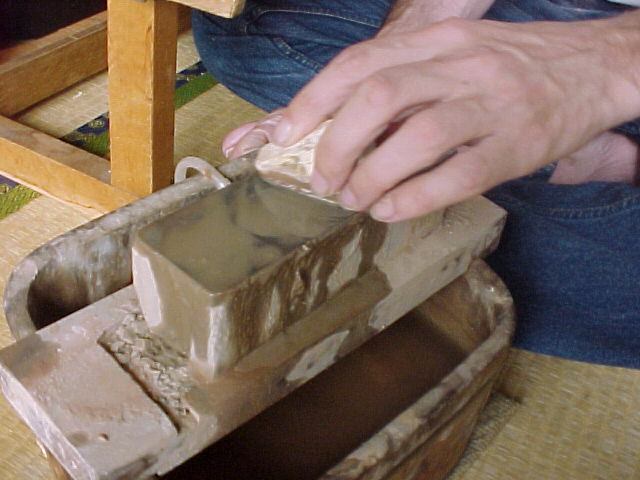
The first step, no matter which tool is being sharpened, is to use the nagura to bring up a nice bed of mud on the stone. Splash water on the stone, and just sweep the nagura around until some mud is ready. With the roughest stones, this is not so critical, because they are pretty soft and soon create their own mud, but with the very hard finishing stones, which do not abrade much at all, this is absolutely essential. No mud - no sharpen.
I'll do the main bevel of the hangi-toh first. I have a bit of 'bad news' for you in that these photos may be a tad more complex than necessary, due to my 'handedness'. I am left-handed, but use a right-handed carving knife. (That's kind of a long story, but let's not confuse the issue more by getting into it here.) So when studying these photos, you will have to make whatever mirroring adjustments may be necessary to 'translate' the concepts into practice at your own bench. But whatever hand you use, presumably the important parts of the process should be apparent ... I hope!
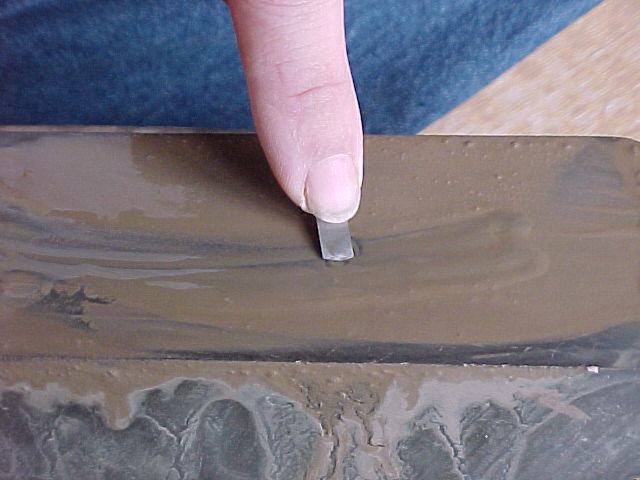
You start by getting a grip on the blade, with the flat side pressed against a finger, and the bevel exposed for action:
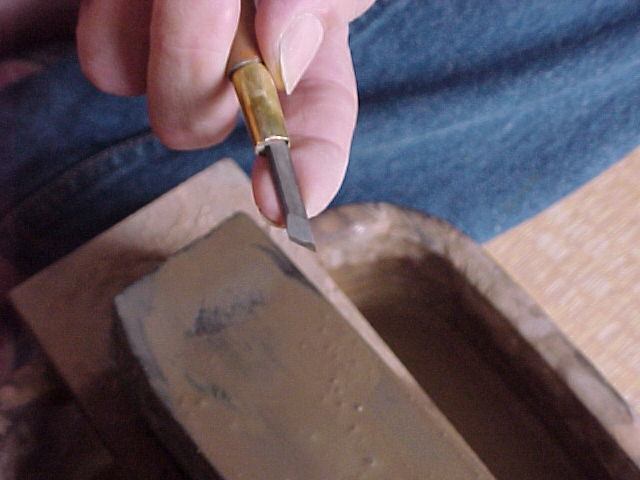
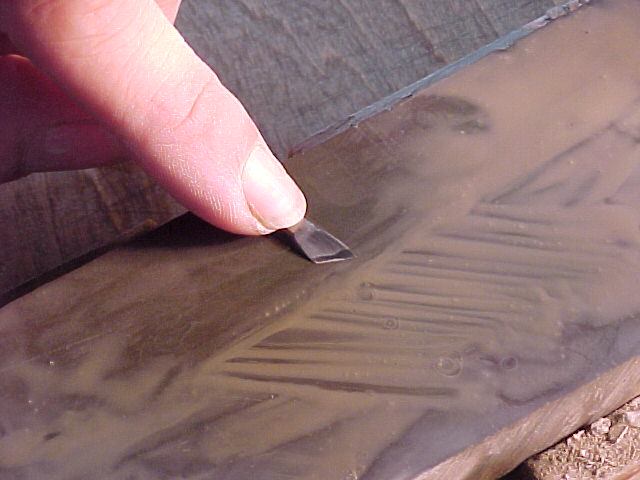
The flat bevel is then pressed perfectly flatly against the absolutely flat top surface of the stone, as in this next photo. :-)

Can I do this 'absolutely' perfectly? No, of course not. If you carefully inspect the photo of my hangi-toh on this page, you will see a slight 'roundedness' at the base of the bevel, where I have let the thing rock just a bit too much while sharpening. Maybe one day I'll get 'better' at this ... maybe!
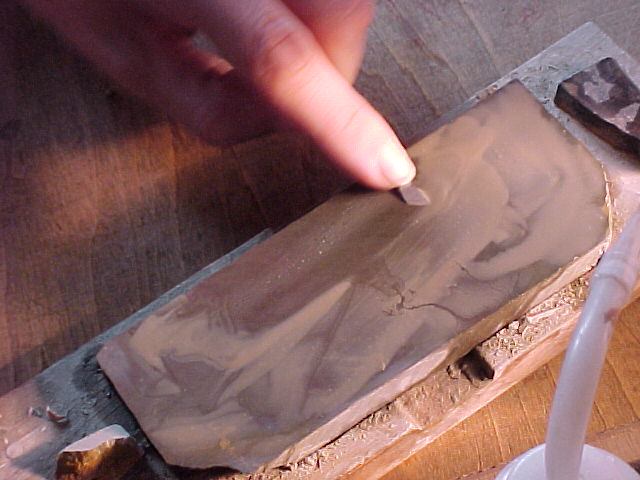
What happens next varies widely from carver to carver. The concept is simple - rub the bevel on the stone until it is sharp, keeping it perfectly flat. Some of the traditional carvers here make a side-to-side sweeping gesture. This is very quick and effective, but takes a very long time to learn to control well. I use a forward thrusting motion from the elbow, making diagonal strokes on the stone, moving up and down the length of the stone bit by bit as I work. I find this keeps the bevel pretty flat, as I kind of 'lock' my wrist into position, and any deviation from level is usually in the direction that doesn't damage the developing edge.

Start with firm vigourous strokes, with good 'downwards' pressure on the stone. No pressure, no sharpen. If you have a good stone, good mud, and good pressure, you should be able actually 'feel' the cutting action. If you are unsure of what you are doing, inspect frequently, wiping the blade to get a good view of what is happening. Inspecting is 'plus/minus'; you quickly find where you are going wrong, saving more damage, but the down-side is that even when you see that you are doing well, you have now lost your 'position', and have to find it again.
When you feel that enough metal is ground away, and the blade is the correct shape, start to bear up on the pressure. Refresh the mud as necessary, and make the last few dozen strokes with considerably reduced pressure. Getting this pressure balance right will remove the deepest scratches caused by this particular grade of grit, and will dramatically reduce the time necessary on the next stone. At the point of finished this step, there should now be a 'burr' on the back side of the edge, extending all the way from heel to tip.
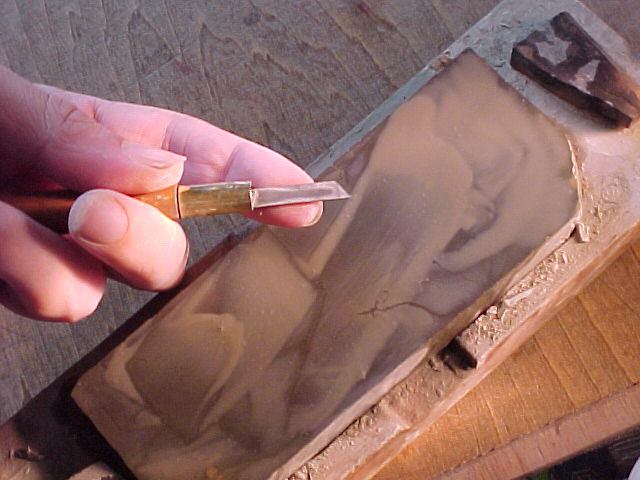
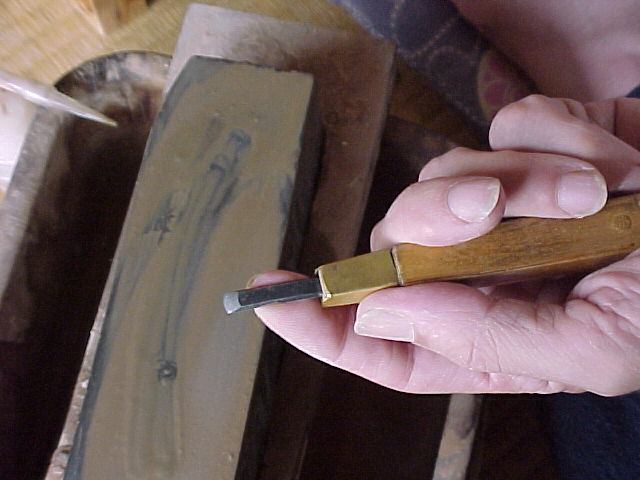
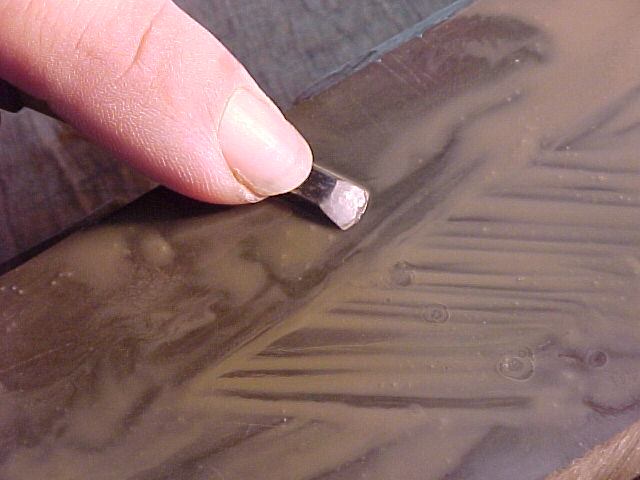
Before moving on to the next stone, you have to do the back. This is easier, as the flatness and width of the back helps keep things 'on the level'. Hold it much the same way, with a finger supporting the blade. Before we start rubbing, look at the hollow-ground shape on the back of this blade; the back is not actually absolutely flat, but has a very slight hollow ground into it (during the manufacturing process). This extends all the way up the blade, but ends up being ground flat (during this sharpening process) just at the final section near the tip. The image you see here is not a bad 'goal' to aim for - don't grind away much more than this ... (Cheap blades don't have this hollow, so don't lose any sleep if you can't 'find' it on your blade ...)
I use a side-to-side motion for this job, keeping a good firm pressure on the tool to keep it pressed flatly on the stone. Again, mud is important ... Avoid 'lifting' your elbow, as that will cause your nicely beveled edge to become rounded off.
Once you get the hang of it, you can really whip that thing from side to side ... just takes a few seconds to get the job done! I see also that in this photo, we've jumped ahead to the final finishing stone. (The previous few photos were taken on the medium stone.) For 'normal' sharpening on this tool (assuming no breakage), the routine is first to use the medium stone, then once the shape of the edge is clear, switch to the fine stone for polishing it. The mudding/holding/rocking/etc. stages are the same in each case. It is very important to adjust the pressure you use for the fine stone. Start firm, and ease up as you go along.
Next up is the bull-nose chisel, and the process is pretty much the same: bevel first, then back, on first the medium stone, then the fine. Support the blade with your finger as before.
Get the basic 'flat' position established at the start:
And then start sweeping it across the stone. I use a side-to-side motion for this tool, and add a gentle 'rocking' of my wrist as I go, to try and match the curve of the bevel.

Here's a shot taken looking down ... It's not easy to get just the right mix of vertical angle, sweep, and rocking motion, and it will take a fair amount of practice before you can balance those three things to get the blade shape you want.
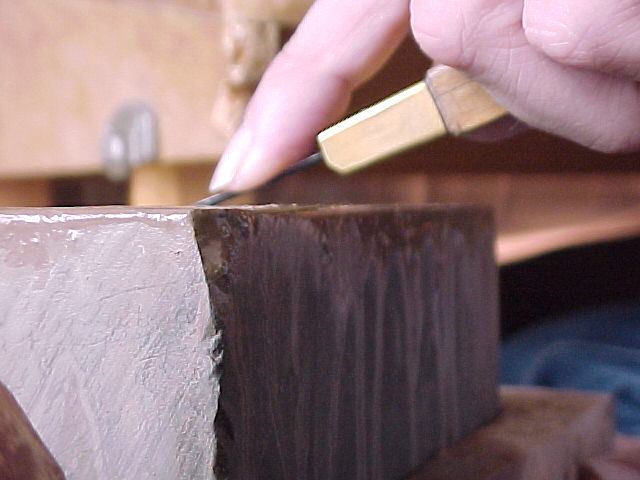
Compared to that, the back side is easy; hold it as before:

... and sweep it over the stone surface until the burr is gone. Looking back at that last photo, I see that I have been using excessive pressure for this step, as the hollow section of the blade has been ground down a bit too much ...
So there we have it, a basic sharpening process ... nothing to be afraid of! Get a cheap 'two dollar' knife for practice, get a couple of (very inexpensive) factory-made water stones, and have a go!
