Tying the Baren Cover (continued from previous page)
|
Tying the Baren Cover (continued from previous page)
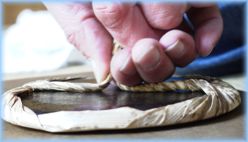
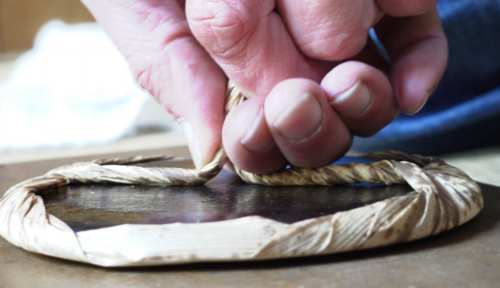
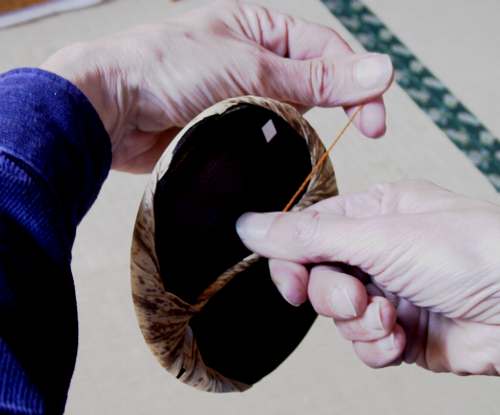
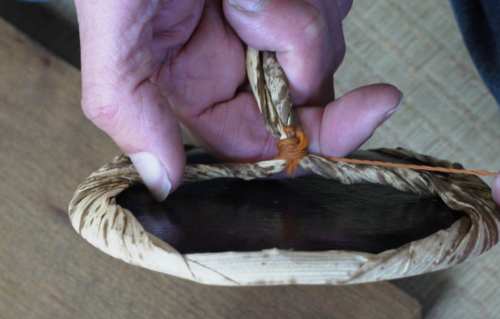
Moisten one end of the string, slide it into the gap between the two ends of the handle ...
... and pinch it in place under one of your fingers or your thumb.
Start wrapping it around, making sure that it covers its own 'end', so won't come undone later. Sorry to get boring here, but please try and twist this around as tightly as you possible can - the cord should be cutting into the fingers of your pulling hand.
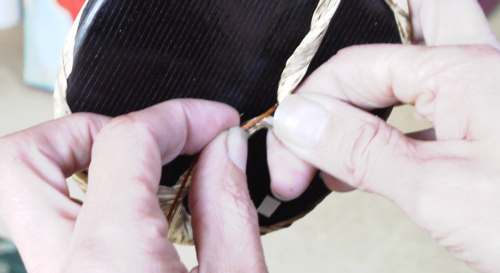
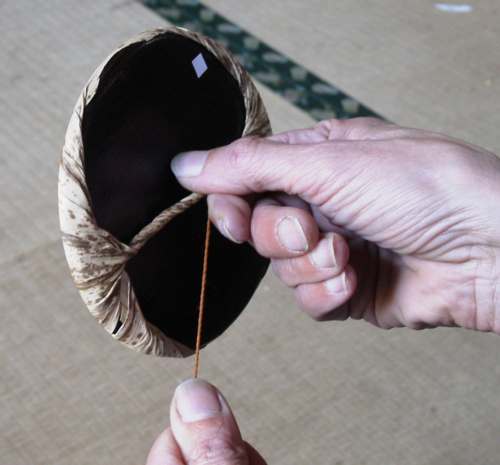
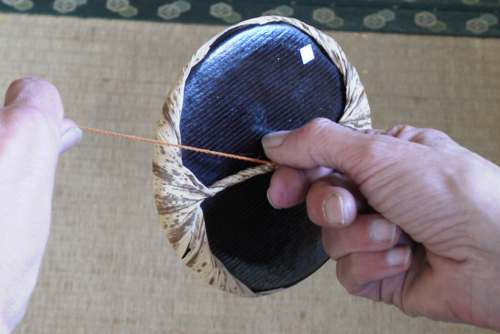
It is also important to balance the wrapping motion so that the handle does not become crooked. Here are three photos showing the 'wrong' way to wrap (note the position of the little white sticker):
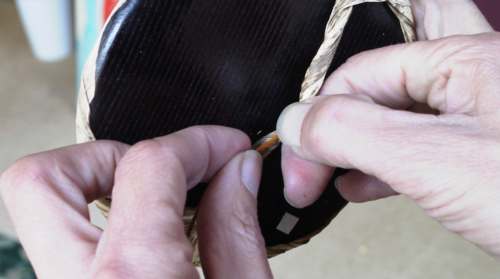
And here are three showing the 'correct' way. Just at the point when the string hand rolls around the baren, the hand holding the baren flips it over half-way.
By doing this, the string is pulled evenly from both sides, and the resulting handle will sit up 'straight' when you are done.
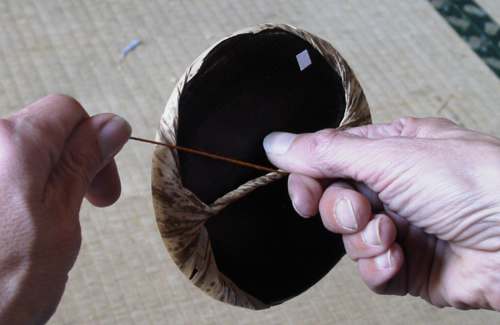
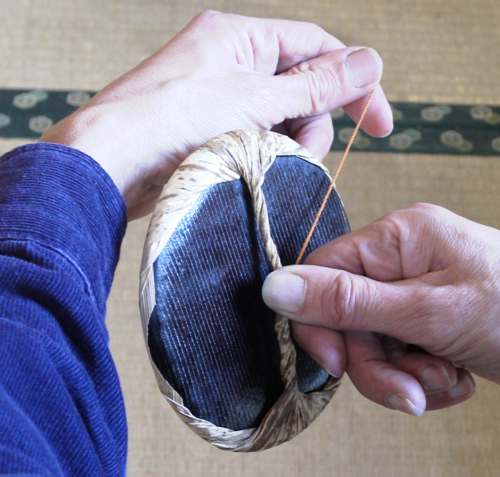
Work downwards - towards the baren - so that the joint is pulled even tighter as you wind the string into place.
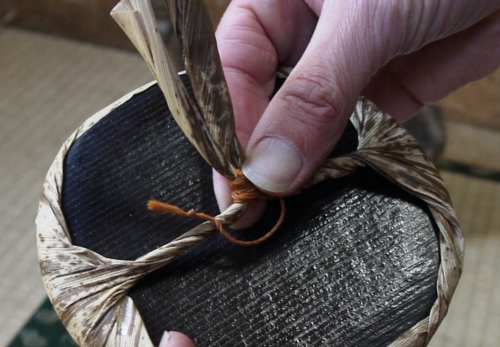
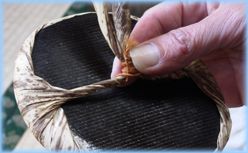
When you get near the end of the cord, pinch the wrap with your fingers to hold everything in place, and loop the end of the cord over one side of the handle ...
... and back up under itself. Printers here usually at this point pull it tight with their teeth, but I'm not going to make any specific recommendation to you about that. :-) Use your own judgement ...
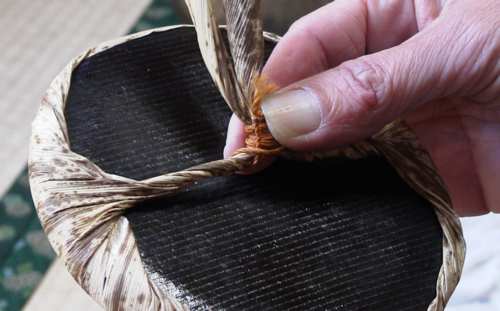
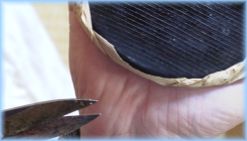
Use the same shears again, and trim off the excess skin.
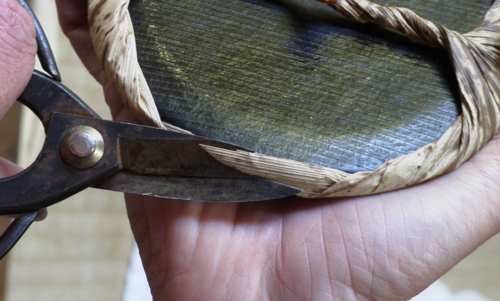
It's also customary to trim away a curved sliver at each side of the top surface of the baren ...
... just to help give it a nice rounded appearance.
So here she is. Looks nice!
But actually, we're not quite done yet ... There is a bit more preparation to do before the baren can be used.
Move on to the final page ... (yay!)