Tying the Baren Cover (continued from previous page)
|
Tying the Baren Cover (continued from previous page)
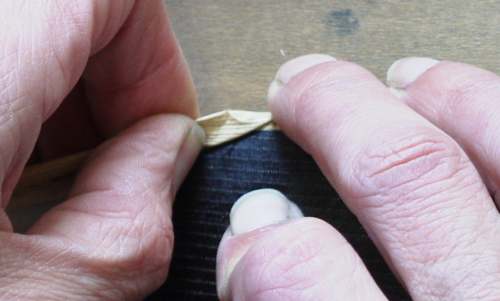
With the baren face down back on the board, the thumb and fingers of one hand continue to hold the skin tightly in place. Before the main wrapping starts, one tuck is taken on the top ...
... and one on the bottom - to help stop the skin from slipping away.
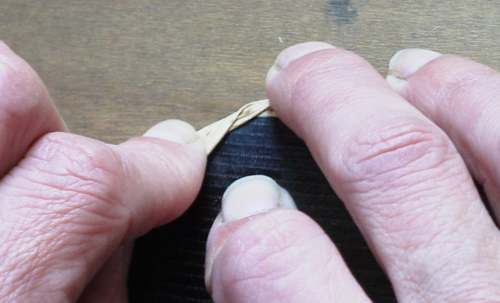
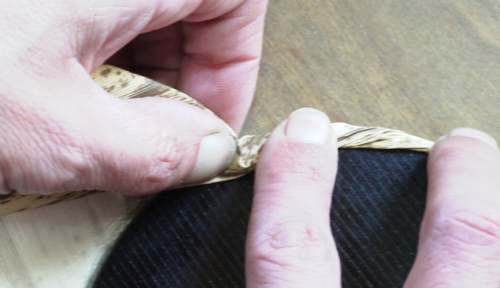
Then the main wrapping begins. These next three snapshots show the three-step procedure: (1) fold the skin up and over the edge of the baren ...
(2) pull it around the edge tightly over the surface of the baren ...
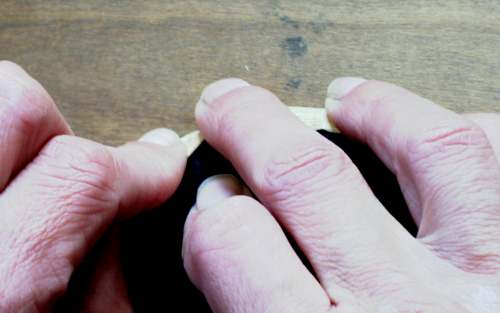
(3) lock the fold in place with a finger of the opposite hand.
You must get the skin pulled over the edge as tightly as possible - but without splitting it. Nothing in this whole tying process ... nothing ... is as important as getting the skin pulled up tightly here!
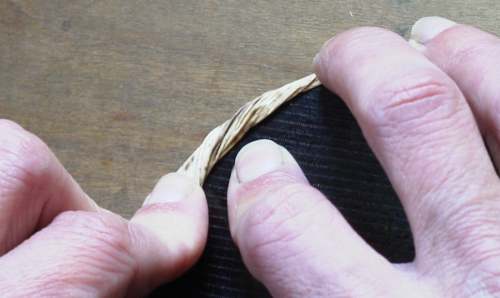
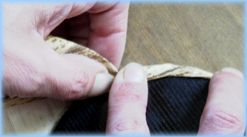
Continue along this first quadrant, repeating the three steps, and moving the 'hold-down' fingers along in stages.
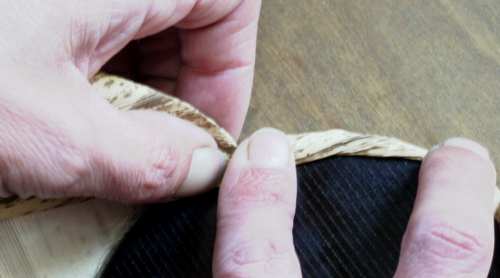
When you get to the middle line of the baren, fold up the skin, crease it a bit 'backwards' ...
... and lock it in place tightly with your index finger.
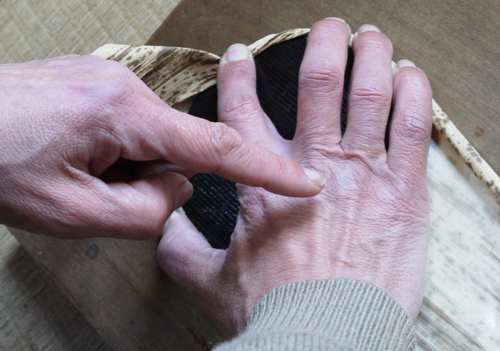
All during this process of moving around the quadrant, the heel of your 'hold-down' hand must tightly press the baren disc down onto the board. If the disc is allowed to slip even the slightest bit, all your 'tight' folding will be made useless ...
Keep holding everything down tightly, and adjust the baren so that you can reach the second quadrant ...
Move on to the fifth page ...